
When working on a Unity project, you may find yourself making many builds to play test your changes. Since Unity locks the editor while building, this can leave you twiddling your thumbs for what seems like hours. By automating your builds, you can get your your time back, and at the same time streamline the development process for your team.
In this guide, we’ll walk through how to use GitHub Actions to automate Unity builds. We’ll learn step by step how to create a GitHub workflow, add the necessary secrets, and choose an appropriate build machine.
What is Build Automation (CI/CD)?
Continuous Integration (CI) and Continuous Deployment (CD) are practices that automate the process of building, testing, and deploying your project. CI/CD pipelines can be set up to run automatically whenever you push changes to your repository, ensuring you have a build ready to test at any time.
What are GitHub Actions?
GitHub Actions is a feature of GitHub that allows you run automated steps when changes happen in your GitHub repository. You can create custom workflows that run on specific triggers, such as pushing code to a repository or opening a pull request. These workflows can be used to build, test, and deploy your code automatically.
If you’re new to Git and GitHub, learn how to setup Git for Unity in our Comprehensive Guide to Version Control for Game Devs.
What is Buildalon?
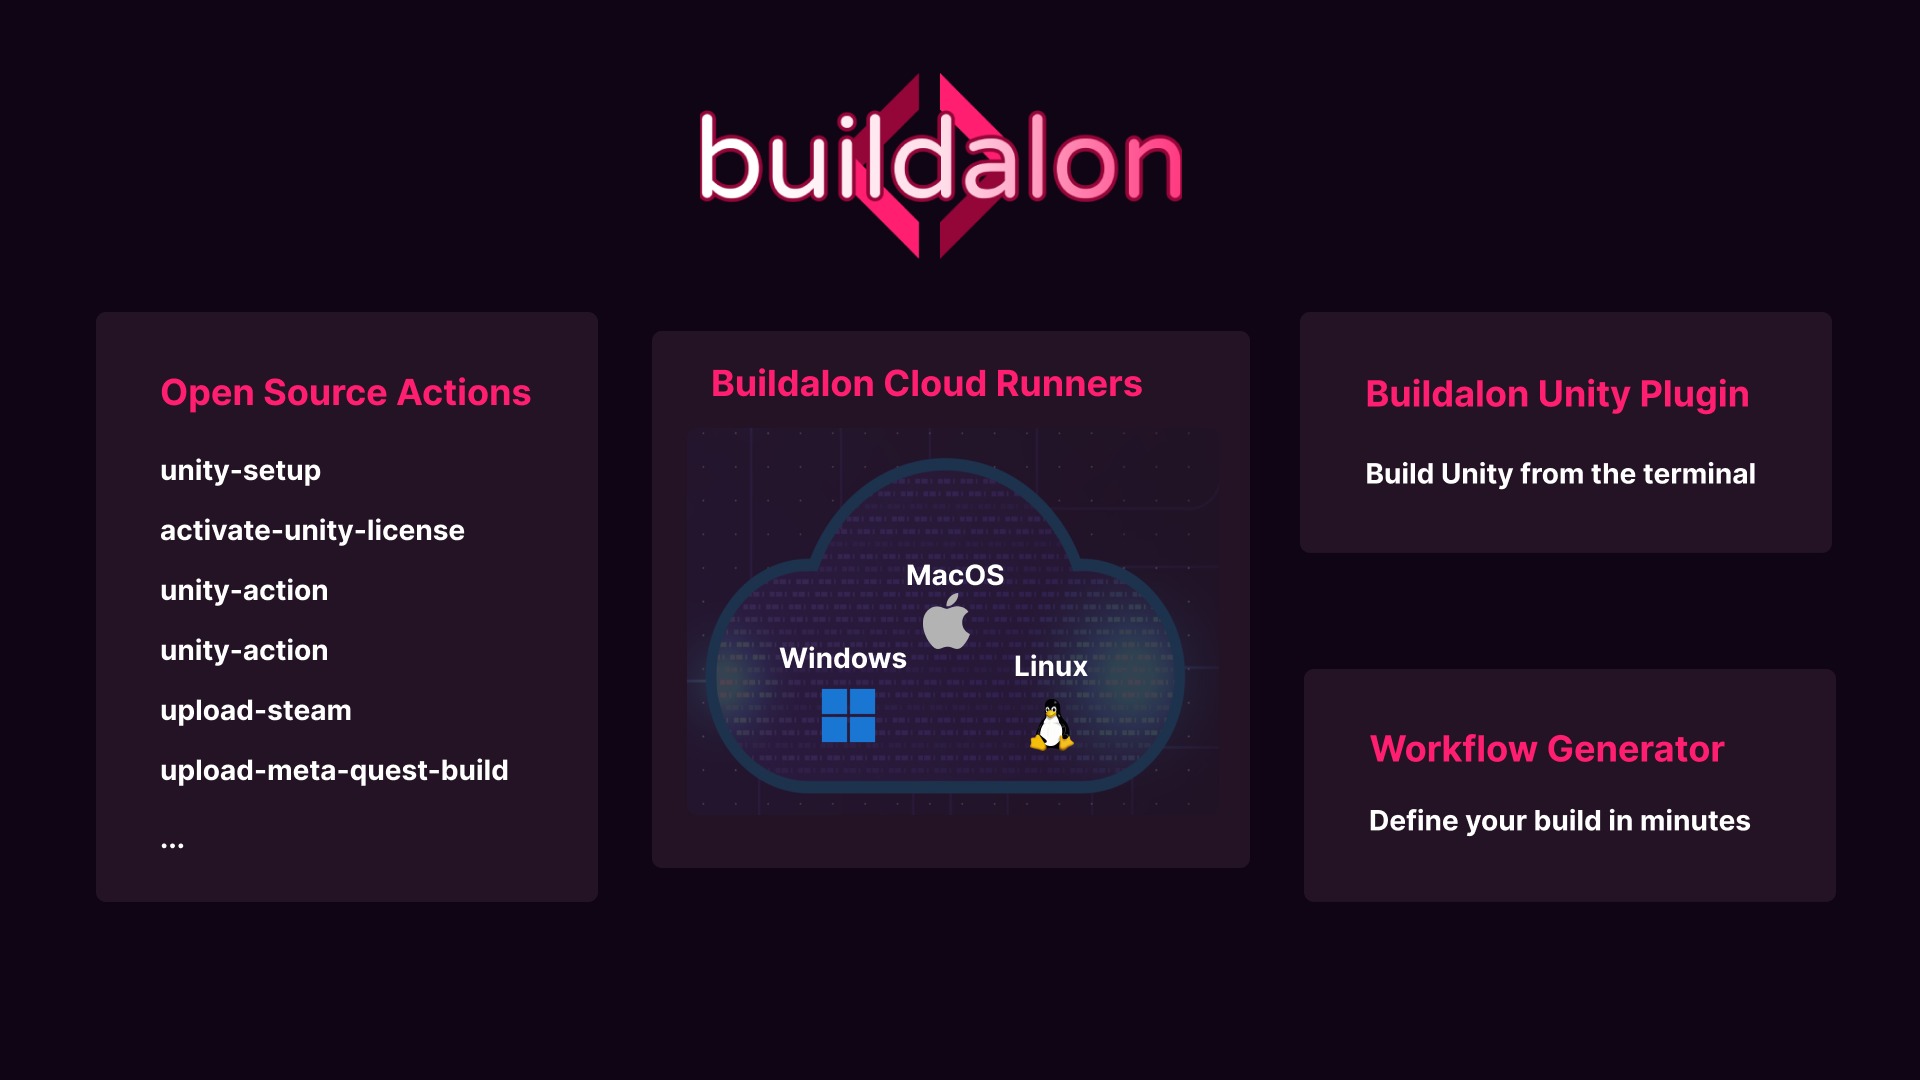
Buildalon turns GitHub Actions into a powerful CI/CD tool for Unity developers. It provides a set of free open-source GitHub Actions that we’ll need to build a Unity project, and (optionally) build machines that support fast incremental builds.
Buildalon Quick Start (optional)
In the rest of this article we’ll cover the nitty-gritty details of writing GitHub Actions workflow to automate Unity builds.
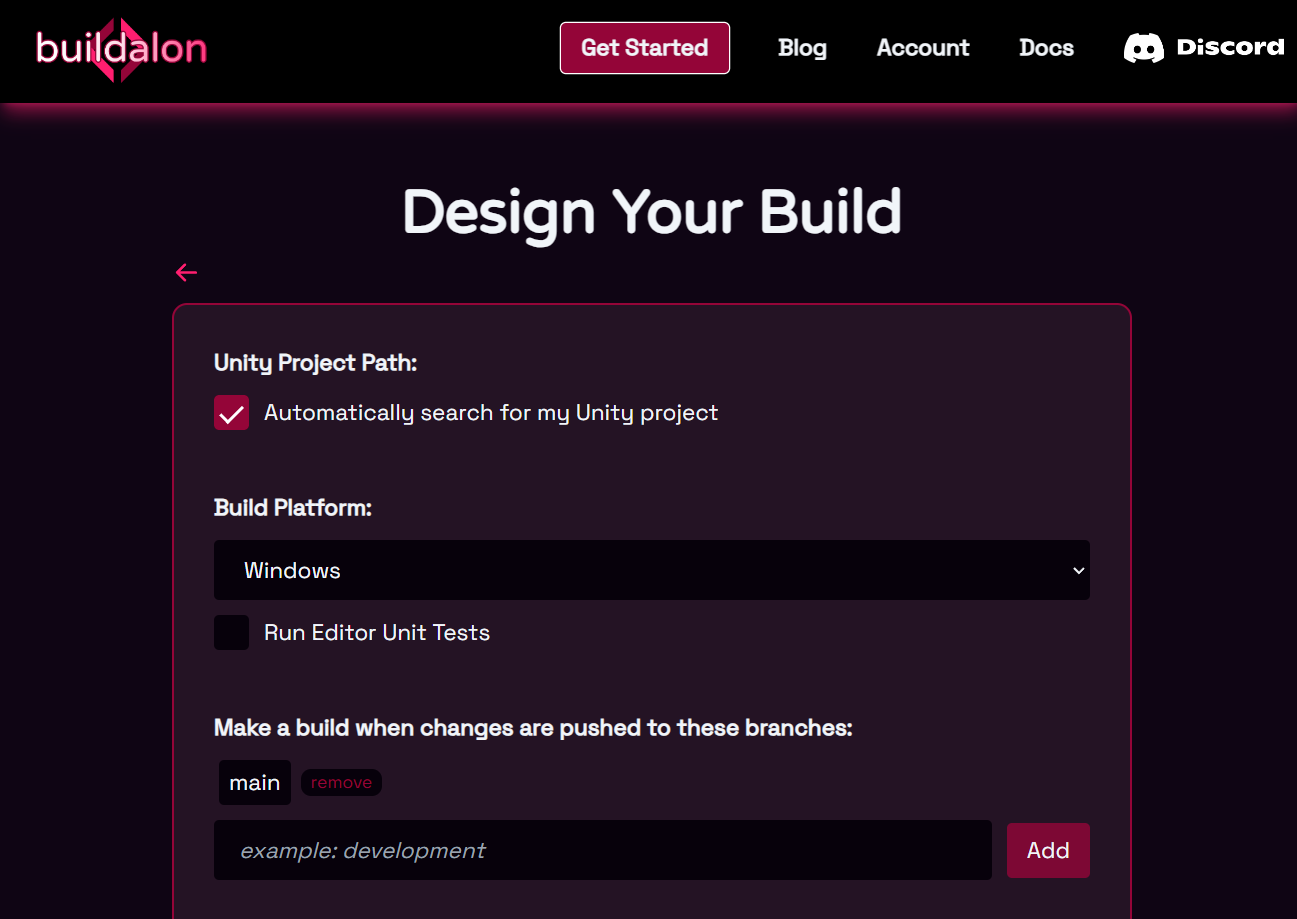
However, you can also use the Buildalon Quick Start to generate a workflow. This is the fastest way to get started, and you can come back to learn the details later.
Creating Your Build Workflow
Step 1: Create a Workflow File
To get started, you need to create a workflow file in your repository. This file will define the steps that GitHub Actions will take to build your Unity project. Create the file unity-build.yml and put in a directory named .github/workflows in your repository.
Step 2: Add Triggers
Triggers are events that tell GitHub to start a workflow. Triggers help streamline development by automatically initiating builds, tests, or deployments whenever key events occur, reducing the need for manual intervention.
These example triggers will run the workflow on every push to the main branch and on every pull request to any branch:
on:
  push:
    branches:
      - main

  pull_request:
    branches:
      - '*'
Learn more about the different triggers available.
Step 3: Add a job
A job is a set of steps that run sequentially on the same build machine. Each job can run on a different machine, allowing you to parallelize your workflow and speed up the build process.
Example: Define the ‘build’ Job
jobs:
  build:
    env:
      UNITY_PROJECT_PATH: ''
    runs-on: ${{ matrix.os }}
    strategy:
      matrix:
        os: [buildalon-windows]
        include:
          - os: buildalon-windows
            build-target: StandaloneWindows64
            build-args: ''
The ‘env’ section defines environment variables that can be used in the job, and we’ll need to declare the UNITY_PROJECT_PATH variable for later steps.
The ‘runs-on’ section specifies which build machines should be used, based on a runner label. Here we use a matrix strategy to define different operating systems and build targets. You can add more build targets in the future and run them in in parallel.
The buildalon-windows label tells GitHub to run this workflow on a Buildalon Windows runner. You can also use buildalon-macos or buildalon-ubuntu for macOS and Linux builds, respectively. Buildalon runners support incremental builds, which will speed up your builds considerably.
If you prefer to use GitHub runners, change the label to windows-latest, macos-latest, or ubuntu-latest. For advanced users, you can also set up your own self-hosted runners.
The StandaloneWindows64 build target specifies that we want to build a 64-bit Windows standalone application. You can add more build targets by including them in the matrix, and these should match the names of the available Unity build targets.
You can use build-args to pass additional arguments to Unity when it is run from the command line.
Step 4: Add Steps
The minimum steps we need to build a Unity project are:
- Checkout the repository - actions/checkout
- Install Unity - buildalon/unity-setup
- Activate the Unity license - buildalon/activate-unity-license
- Add the Buildalon Unity Plugin - com.virtualmaker.buildalon
- Build the project - buildalon/unity-action
- Upload the build artifacts - actions/upload-artifact
Below is an example set of steps for making a Windows desktop build. These steps were generated using Buildalon Quick Start.
Note: Since the set of steps is a bit different for each platform, we recommend using Buildalon Quick Start to generate the steps for your specific platform. For example, an additional step — buildalon/unity-xcode-builder — is required to run XCode to build an iOS project.
    steps:
      - uses: actions/checkout@v4
        with:
          clean: ${{ github.event.inputs.clean == 'true' }}
          lfs: true
          submodules: 'recursive'
      - uses: buildalon/unity-setup@v1
        with:
          build-targets: '${{ matrix.build-target }}'
      - uses: buildalon/activate-unity-license@v1
        with:
          license: 'Personal'
          username: '${{ secrets.UNITY_USERNAME }}'
          password: '${{ secrets.UNITY_PASSWORD }}'
      - name: Add Build Pipeline Package
        working-directory: ${{ env.UNITY_PROJECT_PATH }}
        run: |
          npm install -g openupm-cli
          openupm add com.virtualmaker.buildalon
      - uses: buildalon/unity-action@v1
        name: Project Validation
        with:
          log-name: 'project-validation'
          build-target: '${{ matrix.build-target }}'
          args: '-quit -batchmode -executeMethod Buildalon.Editor.BuildPipeline.UnityPlayerBuildTools.ValidateProject'
      - uses: buildalon/unity-action@v1
        name: '${{ matrix.build-target }}-Build'
        with:
          log-name: '${{ matrix.build-target }}-Build'
          build-target: '${{ matrix.build-target }}'
          args: '-quit -batchmode -executeMethod Buildalon.Editor.BuildPipeline.UnityPlayerBuildTools.StartCommandLineBuild${{ matrix.build-args }}'
      - uses: actions/upload-artifact@v4
        id: upload-artifact
        name: 'Upload ${{ matrix.build-target }} Artifacts'
        if: success() || failure()
        with:
          compression-level: 0
          retention-days: 1
          name: '${{ github.run_number }}.${{ github.run_attempt }}-${{ matrix.os }}-${{ matrix.build-target }}-Artifacts'
          path: |
            ${{ github.workspace }}/**/*.log
            ${{ env.UNITY_PROJECT_PATH }}/Builds/StandaloneWindows64/**/*.exe
            ${{ env.UNITY_PROJECT_PATH }}/Builds/StandaloneWindows64/**/*.dll
            ${{ env.UNITY_PROJECT_PATH }}/Builds/StandaloneWindows64/**/*_Data
            ${{ env.UNITY_PROJECT_PATH }}/Builds/StandaloneWindows64/MonoBleedingEdge/
      - name: Clean Artifacts
        if: always()
        shell: pwsh
        run: |
          # Clean Logs
          Get-ChildItem -Path "${{ env.UNITY_PROJECT_PATH }}" -File -Filter "*.log" -Recurse | Remove-Item -Force

          $artifacts = "${{ env.UNITY_PROJECT_PATH }}/Builds"
          Write-Host "::debug::Build artifacts path: $artifacts"

          if (Test-Path -Path $artifacts) {
            try {
              Remove-Item $artifacts -Recurse -Force
            } catch {
              Write-Warning "Failed to delete artifacts folder file: $_"
            }
          } else {
            Write-Host "::debug::Artifacts folder not found."
          }
Step 5: Add Secrets
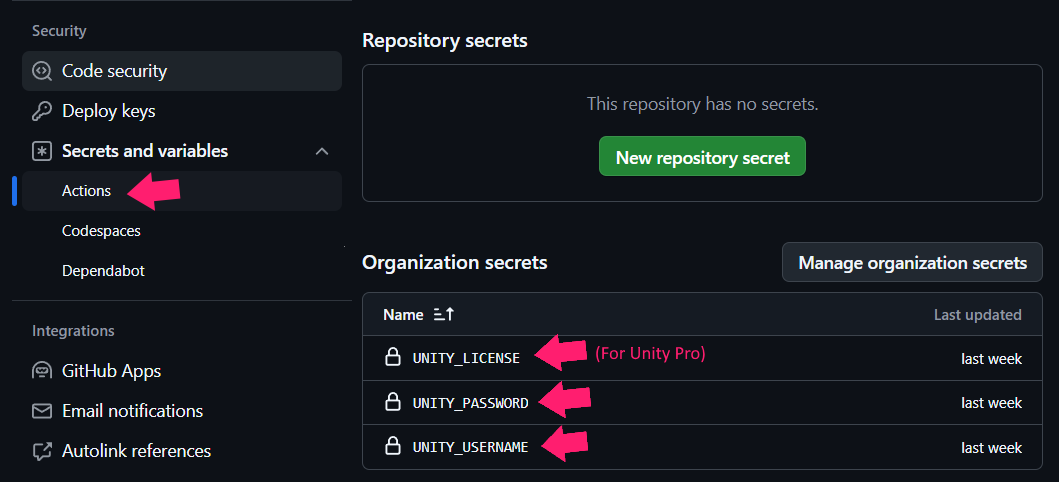
To activate the Unity license, the build machine needs access to your Unity username and password. You should never hardcode these values in your workflow file, as they can be exposed to the public. Instead, you can use GitHub Secrets to securely store sensitive information.
Go to your repository on GitHub, click on Settings > Secrets & Variables > Actions and add the following secrets:
UNITY_USERNAME: Your Unity username, usually your email.UNITY_PASSWORD: Your Unity password.

For Unity Pro:
If you’re using Unity Pro, you also need to add the UNITY_SERIAL secret with your serial key. Then go back to your workflow file and update the activate-unity-license step to use the secrets:
- uses: buildalon/activate-unity-license@v1
  with:
    license: 'Professional'
    username: '${{ secrets.UNITY_USERNAME }}'
    password: '${{ secrets.UNITY_PASSWORD }}'
    serial: '${{ secrets.UNITY_SERIAL }}'
Step 6: Install the Buildalon GitHub App
To use Buildalon runners, you need to install the Buildalon GitHub App on your repository. This app gives you access to Buildalon runners to run your workflows.
Install the Buildalon App
Buildalon runners are optimized for Unity builds and enable incremental builds, which will speed up your build times considerably.
If you prefer to use GitHub’s runners, you can skip this step, but make sure you update the runner label in your workflow file (for example, windows-latest).
Step 7: Push Your Changes to Start a Build
Once you’ve added the workflow file and secrets to your repository, push your changes to GitHub. If your trigger conditions are met, GitHub Actions will automatically start the workflow and build your Unity project. You can find the status of the workflow in the Actions tab of your repository.
Step 8: Monitor Your Build
Once the workflow is running, you can monitor its progress in the Actions tab of your repository. You can view the logs of each step to see what’s happening during the build process.

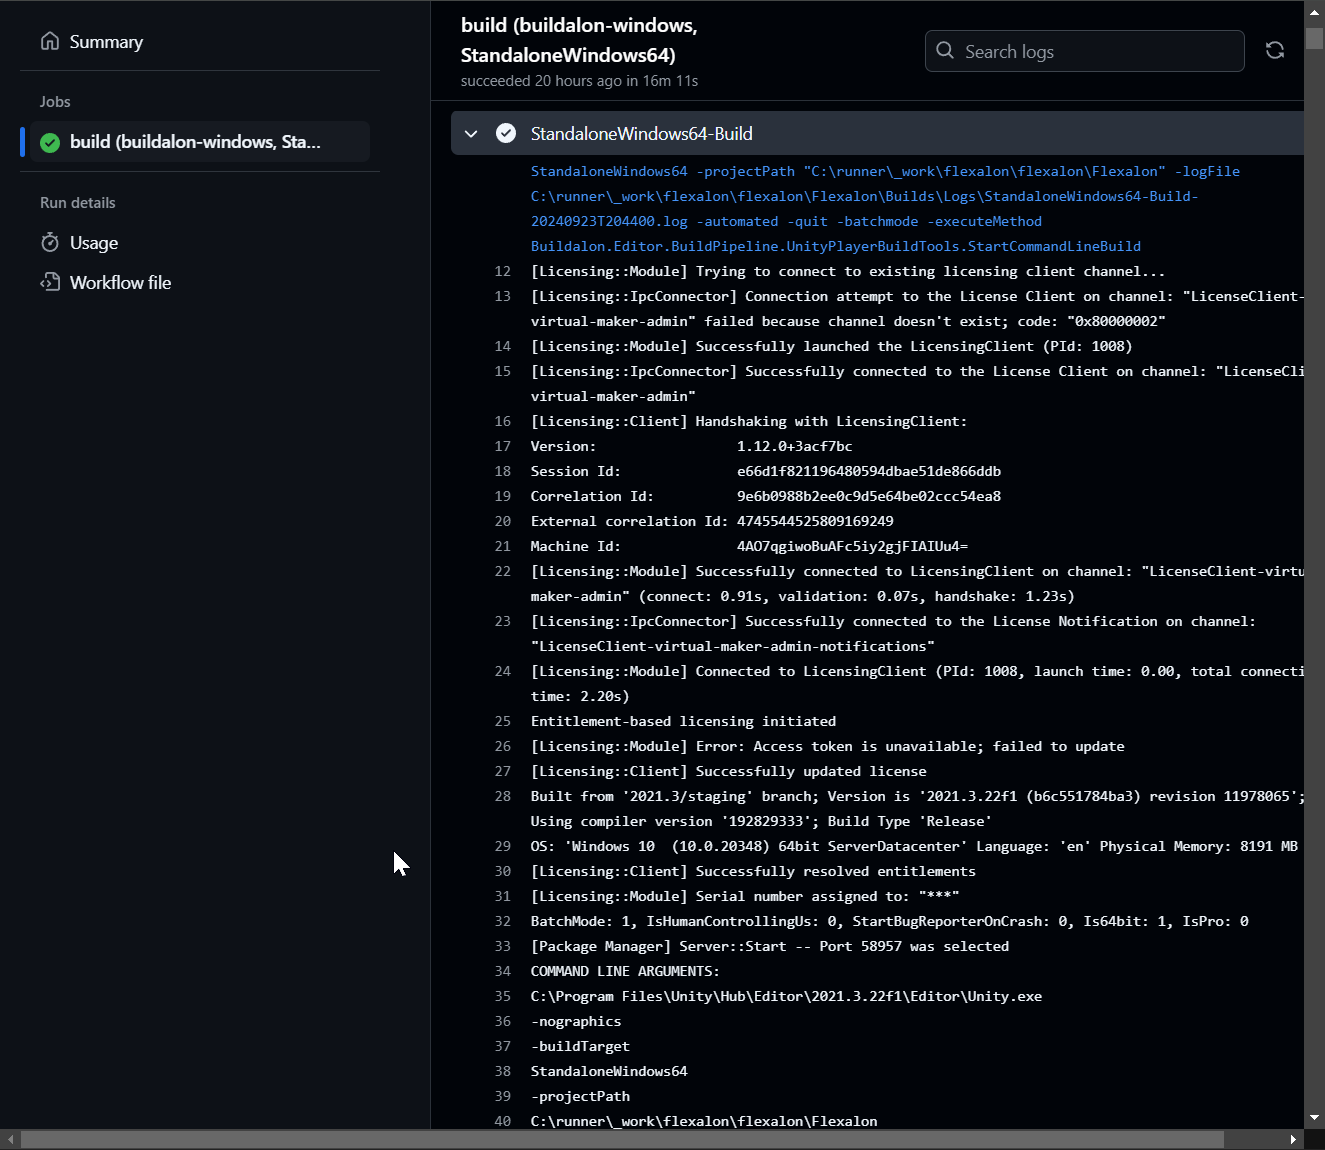
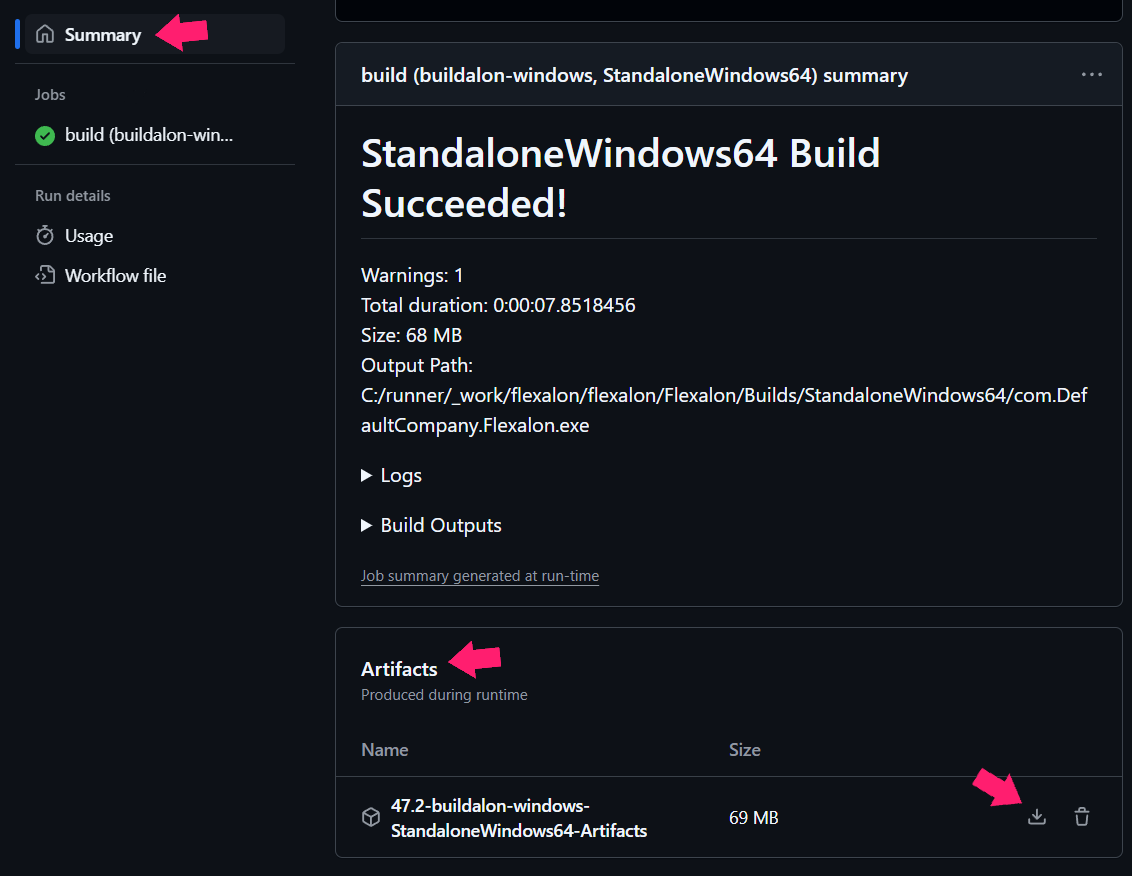
If there are errors, you can usually find them in the Summary page. Fix the errors in your project and push the changes to trigger a new build.
For more help with common errors, take a look at the Buildalon troubleshooting page.
Step 9: Retrieve Your Build Artifacts
Once the build is complete, you can download the build artifacts from the bottom of the Summary page. These artifacts will contain the build files generated by Unity, such as the executable and data files.
Next Steps
🎉 Congratulations, you now have automated builds! 🎉
Here are some ideas on how to augment your new workflow:
- Add more build targets to the matrix to build for different platforms.
- Run unit tests automatically.
- Deploy your builds to an app store.
- Add webhooks to notify your team when a build is complete.
- Create a branch protection policy to ensure that all code changes are tested before merging.
Further Reading
- How to Stream Unity Logs from Your Game
- How to Download and View Unity Logs from Your Game
- Git and Unity: A Comprehensive Guide to Version Control for Game Devs
Subscribe to our Newsletter
Get the latest news and updates from Virtual Maker delivered straight to your inbox.
© 2025 Virtual Maker Corporation


